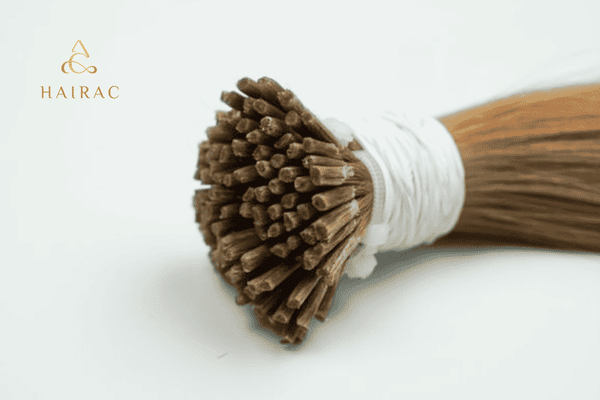
What are I-tip hair extensions?
Advantages of I-tip hair extensions
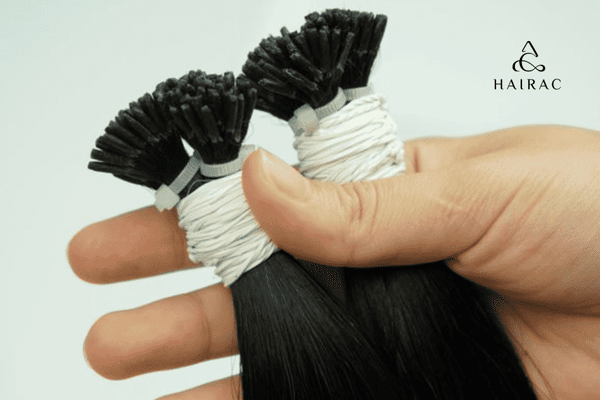
i-tip hair extensions
Step-by-step guide on I-tip hair extensions
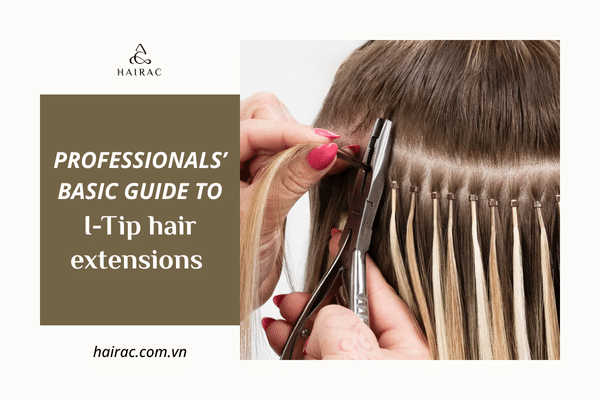
How to install I-tip hair extensions
Follow these steps for the installation:
- Divide the hair: Use a Quick Pick to divide the hair into a T-shape. This makes one big section in the back and two equal sections on the sides.
- Attach the bead: Put the Quick Change Anchor onto the small loop at the bottom. Then, put the Quick Change Beads on the anchor.
- Take a small piece of hair: Separate a square piece of your hair. This piece should be about inch by inch. It must be the same thickness as the extension strand.
- Put hair through the loop: Slide a bead up and thread it onto the small piece of hair.
- Add the extension: Put the extension strand inside the bead. Make sure your hair is hanging straight down.
- Fix the extension: Use the Hair Extension Tool to clamp the bead closed. This keeps the extension secure.
- Start a new section: The rows of extensions should be about inch to inch apart if your hair is thin. If your hair is medium or thick, the rows should be inch apart.
- Continue: Keep repeating these steps. Work upwards in rows that go across your head until you reach the top area (the crown). Do this until your natural hair is covered well.
I-tip before and after
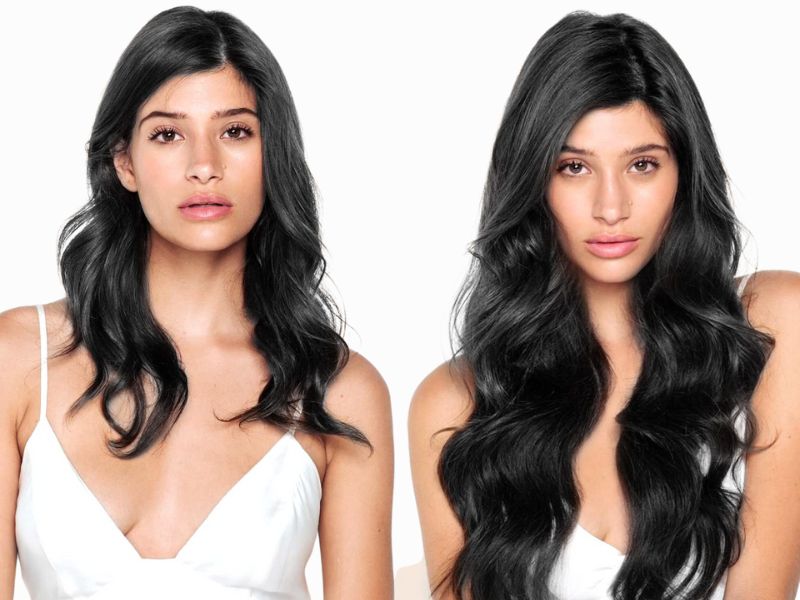
i-tip hair extensions before and after
Tips for maintain I-tip hair extensions
If you take good care of your I-tips, they will stay shiny like when you first got them.
To keep the oil on your scalp, do not wash your hair too often. Do not put conditioner near where the extension is attached, as this can make products build up.
Never sleep with your hair wet. Before you sleep, tie your hair in a loose ponytail or a braid. A silk pillowcase can help stop your hair from getting caught on cotton sheets. If you use a curling iron, check that it is safe for extensions. Do not set the temperature higher than .
If you like to exercise, like doing yoga or running, you must protect your I-tips. Sweating can make the extensions dry and cause minerals to build up. After you exercise, you must gently wash and brush your hair.
Summer activities can also damage your hair. Chlorine, salt, sunscreen, and tanning products can change your hair color. To stop this, mix a small amount of deep conditioning mask with water. Put this mixture gently on the hair from the middle down to the ends. Using a spray bottle is best for this.
Summing up
In summary, I-Tip extensions can greatly change natural hair. They give your clients more volume, length, or a new style. They do not need much heat or chemicals. I-tips are good because you can use them in many ways, and they last a long time. Consider if your customers’ natural hair is healthy. Talk to our professional team to get the best result when you choose hair extensions.


